How To Put On A Wig? 2023 New Guide

Wigs have emerged as a fashion statement, with celebrities and influencers sporting them on red carpets and fashion runways. Wigs are now seen as a fun and stylish way to switch up your hairstyle without having to commit to a permanent change.
From straight and sleek to curly and voluminous, wigs offer endless possibilities to express your personality and elevate your look. With advancements in technology and manufacturing, wigs have become more affordable, natural-looking, and comfortable to wear for extended periods. Wearing a wig is a way to showcase your creativity and fashion sense.
Purpose Of The Ultimate Wig-Wearing Guide
There are many different types of wigs available, and the ultimate wig-wearing guide is a step-by-step guide for my ladies out there to understand how to put on a wig like an expert, and that won’t get snatched, so it remains intact and appears as real as your natural hair.
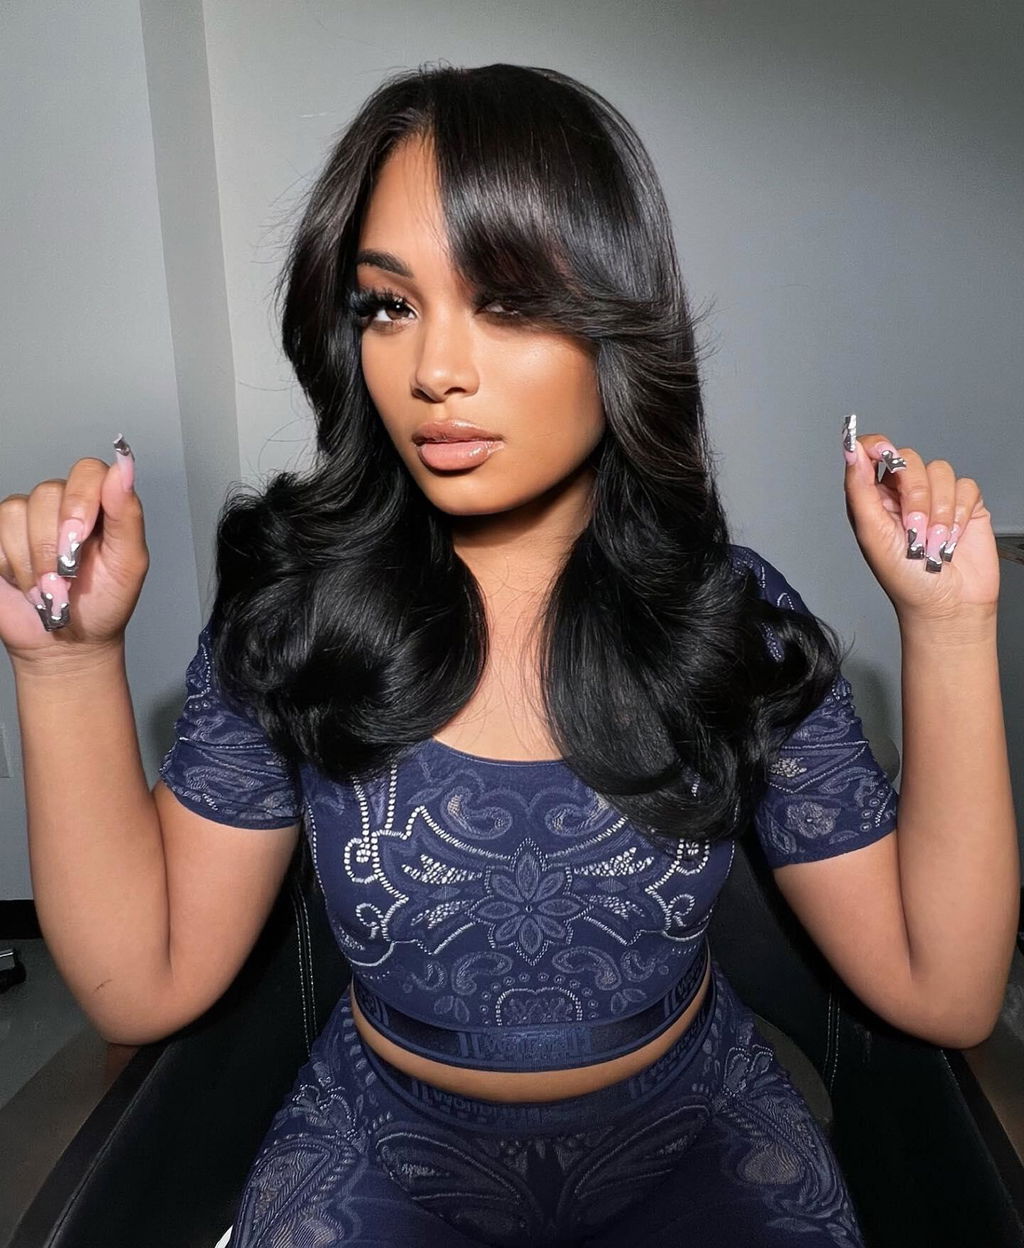
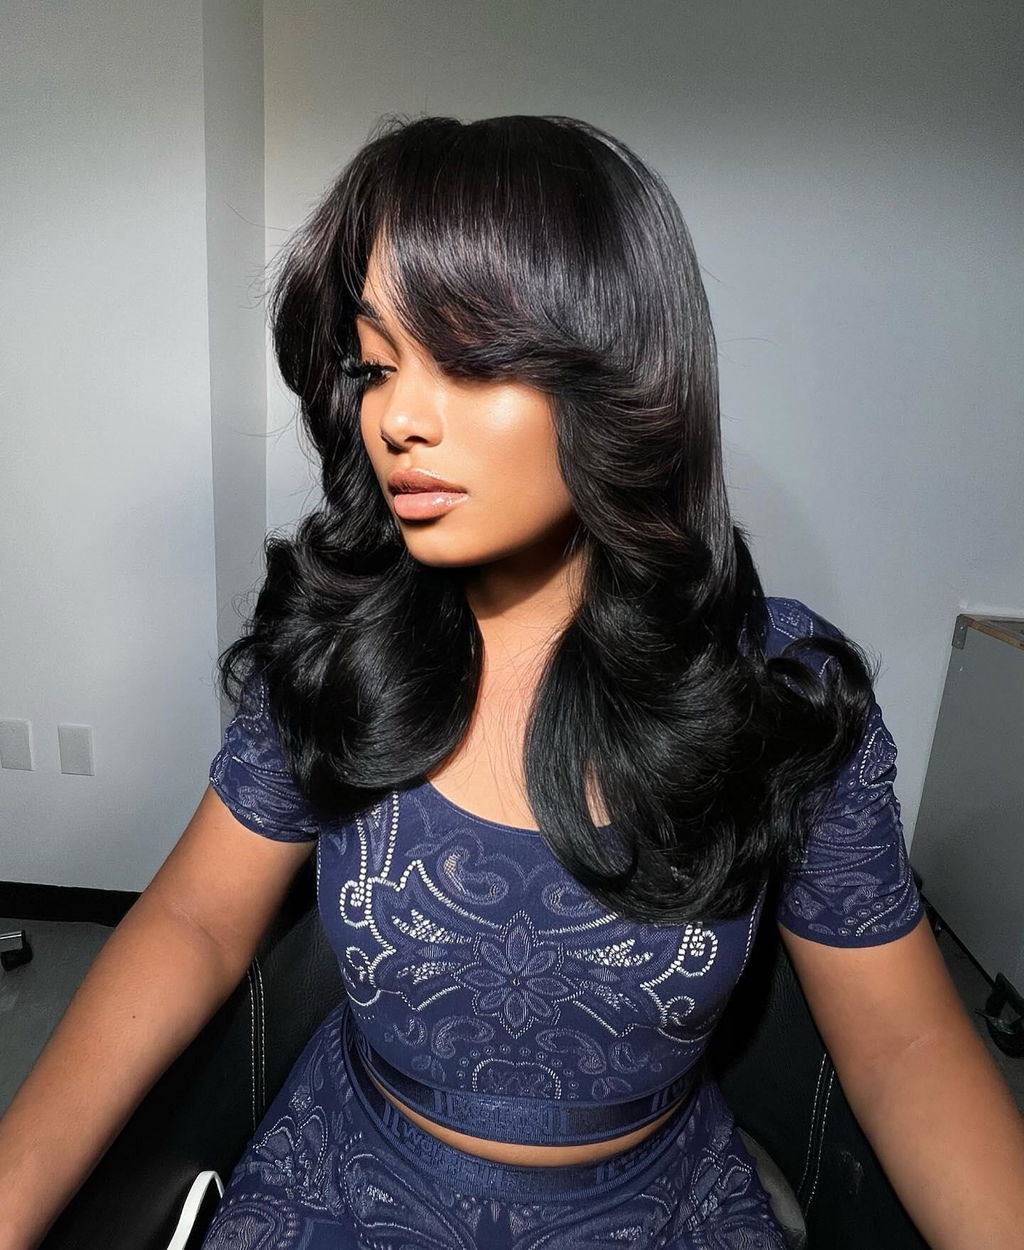
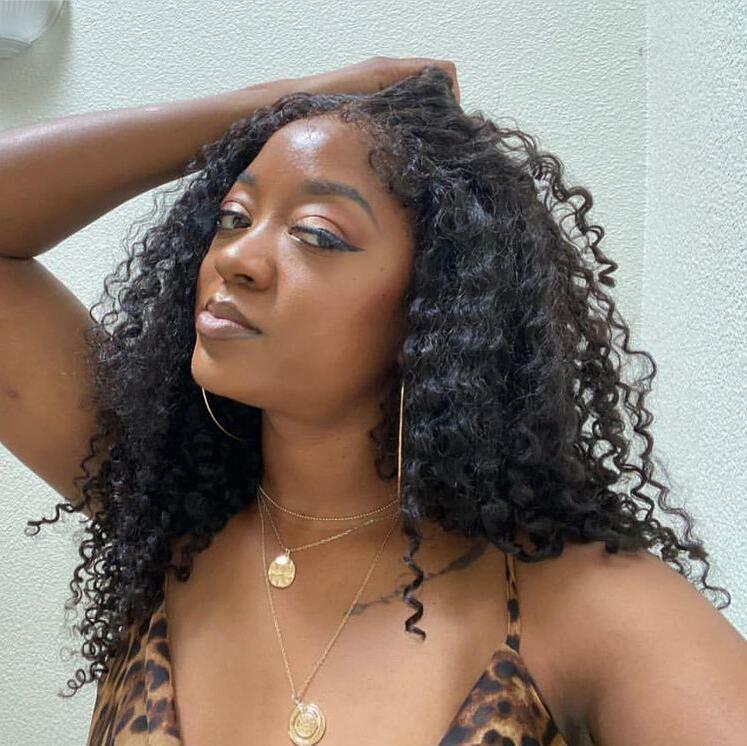
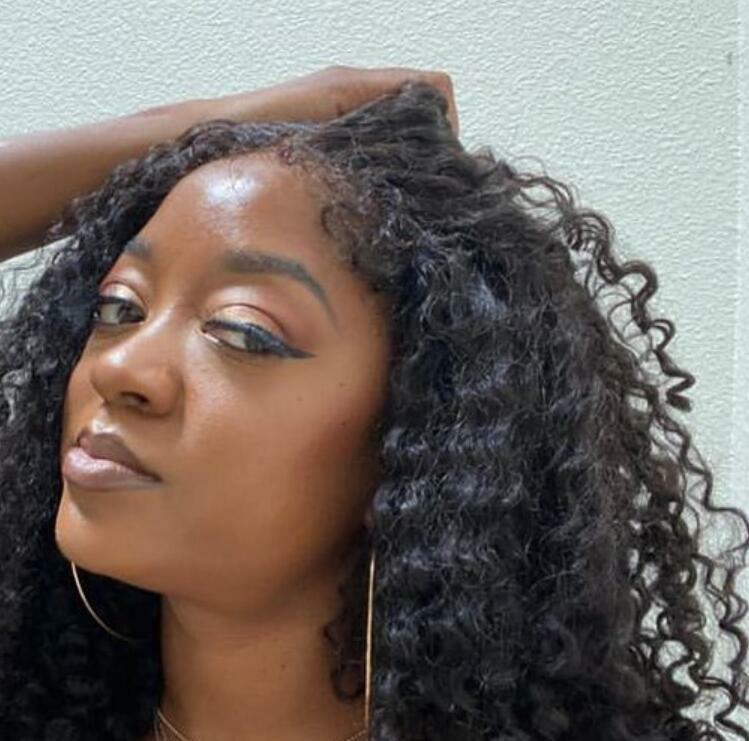
How To Choose The Right Wig?

Choosing the right wig can be a daunting task. With so many styles, colors, and materials to choose from, it's hard to know where to start.
However, by taking the time to consider your needs, preferences, and budget, you can find the perfect wig to suit your unique style and taste.
Choosing the right wig based on face shape
Round:
If you have a round face, it will be around the same width as the length. Typically, chins are soft, rounded, and not overly prominent. With perky cheeks when you smile, this face shape frequently offers a lovely, bright, somewhat young look.

All lengths of wigs may flatter the round face form; thus, the ideal wig designs for a round face include many layers or waves with volume for the length you get to pick.
Square:
A square face shape is quite comparable to a round face shape; however, square faces have a very strong, angular jawline. The face is roughly the same size from side to side as it is from top to bottom. The suggestions include comparable triangular faces.

On a face with a square shape, a wig with a little curl or wave will look ideal. Unless you desire a shorter cut with a dramatic side parting, keep the length at or below shoulder length.
Triangle and Pear:
Full and prominent cheekbones and jawlines, with a discernible forehead narrowing. Given that you're all attempting to highlight and reduce the same features, we advise triangles to adhere to the same guidelines as squares.

A wig with bangs is a fantastic way to hide your small forehead. The triangular or pear-shaped face pairs wonderfully with a soft, thick, side-swept wig.
Oblong and rectangle:
You have a longer-than-wide face. Your jawline, cheekbones, and forehead are all the same size. Oblong faces have a rounded jawline, whereas rectangles have a square, angular jaw. This is the only distinction between the two. Our advice is to stay away from cuts that stop at the chin because your face is longer. Most bob cuts are not acceptable unless they are "lobs."

We advise that you choose voluminous designs with plenty of layers because they might make your face appear wider. Also flattering to this facial type are thick bangs and hairstyles that extend past the chin.
Heart and inverted triangle:
This face type has a longer, more broad face shape. The narrowest section of your face is your jawline, which is sharp. A "widow's peak" hairline is present on a lot of heart-shaped faces. The heart-shaped face has large cheeks, wide cheekbones, a narrow chin, and wide temples and forehead.

Long, wispy fringes that span the forehead are among the most flattering wigs for a heart-shaped face. Additionally, this face shape looks good with hairstyles that keep the hair close to the head as it reaches the eyes, such as those with longer layers.
Oval and Diamond:
The "ideal" facial shape in our culture is the oval. (You're lucky!) Your face is symmetrical and has a length that is 1.5 times wider than it is wide. Similar to a diamond, a face is narrowest at the forehead and jaw and largest at the cheeks. The sole distinction between the two is that chins on diamond faces are more pointed. These facial shapes are the most adaptable of the lot. Practically any wig in our shop may be worn.

Wigs that sit away from your face to enhance its form are the most flattering for oval features. Consider wearing your hair in long bobs with fringes that fall to one side and away from your face or in mid-length styles with layers to create volume for a flattering look.
Video Guide On How To Put On A Wig
How To Put On A Wig Like A Pro
Now that you've chosen the right wig for you, it’s time to put it on, and I’ll teach you exactly how to do it the right and easiest way!
We frequently hear from ladies who have never worn wigs before that they are concerned about how to put them on so that they appear real and natural.
There's no need to fear because even a newbie can put on a wig easily. There are several different ways you may go, and in this blog, we'll go through the simplest one for beginners with a range of natural hair lengths, as well as whether or not wig caps are right for you.
Preparing Your Hair For Wigs
Preparing your hair for wigs is an essential step that should not be overlooked. It ensures that your wig fits comfortably, looks natural, and lasts longer.
Step 1: Wash your natural hair and scalp

First, make sure your hair is clean and dry before putting on your wig. Use a gentle shampoo and conditioner to cleanse your scalp and hair thoroughly.
Step 2: Prepare your natural hair

Next, your can prepare your hair by separating the hair into several sections and braiding or twisting them. Then tie your hair up into a low ponytail and use hair clips to keep it neatly tucked away. Please make sure it is as flat as possible, that can make your whole look more natural. If you have interest to learn the details of preparing your natural hair under a wig, step to our other article to learn more.
Step 3: Put on a wig cap

If your hair is long and thick, you may consider wearing a wig cap to keep it flat and smooth. Wig caps also protect your scalp from irritation or allergic reactions caused by the wig material. Please choose a wig cap color close to your skin tone.
Overall, preparing your hair for wigs is easy and takes only a few minutes. It's a small step that can make a big difference in your wig-wearing experience.
Prepare Your Wig(optional)
In general, before putting on your wig, you should bleach knots and pluck your wig to make your wig look natural, but now more and more pre-plucked and pre-bleached knots glueless wigs come out, you can also choose to skip this step. If you are interested in learning more about bleaching knots and plucking wigs, visit our bleaching tutorial and plucking tutorial blogs here!
Fitting The Wig On The Head
Installing a wig involves several steps to ensure a secure and natural-looking fit. Here are detailed instructions on how to install it:
Step 1: Bald cap method to blend wig cap (optional)
After you have prepared your natural hair and have worn a cap, ensure that your hair is neat and secure. Here you can choose the bald cap method to blend the cap to your scalp.

Pull the cap edges down so the cap falls right above your eyebrows and over your ears. Then cut a small hole right above both ears and let your ears out.
Now it's time to apply thin glue. Located your hairline and apply glue or hair spray along it. Then blow dry it until it is completely dry, and trim off the excess wig cap.
After that take a darker shade of your skin tone and blend it over the cap starting from your hairline
Step 2: Clean the lace
Gently clean the lace front of the wig using a wig brush or comb to remove any tangles or debris. You can also use a cotton swab dipped in alcohol to clean the area where the wig will be attached to your forehead. Allow it to dry completely, you can use a blow dryer for fast results.
Step 3: Put on the wig

Here we come to the most important step-put on the wig. Adjust the wig cap straps on the inside of the wig to ensure a snug fit.
Step 4: Cut the lace(optional)

If necessary, trim any excess lace along the hairline, leaving about 1/4 inch (0.6 cm) of lace for a more natural appearance. Be careful not to cut any of the hair strands. If you are working with a glueless pre-cut lace wig, you can skip this step.
Step 4: Apply adhesive or wig tape(optional)
There are different options for securing the lace wig, such as adhesive or wig tape. Choose the method that works best for you.

If you opt for adhesive, apply a thin layer along the hairline using a small brush or your fingers. Allow the adhesive to become tacky before moving on to the next step. And the more layers of adhesive you add the longer your wig remains intact.
The good news is that if you are going with a glueless wig, you can skip this stop also, lol!
Step 5: Position the wig
Align the wig's hairline with your natural hairline, ensuring that the wig sits snugly against your head. Gently press the lace into the adhesive or wig tape, starting from the center and moving outwards.
Step 6: Secure the wig

Once the wig is positioned correctly, press it firmly into place along the entire hairline to ensure a secure bond. Smooth out any wrinkles or air bubbles by gently pressing the lace onto your skin. Then tie a silk headband and blow dry it. The blow dryer can be extremely helpful in this step.
Step 7: Style the wig
Style the wig as desired using a wig brush, comb, or your fingers. You can also use heat styling tools on human hair wigs, but be sure to follow the manufacturer's guidelines to prevent damage. It's best to apply heat protectant before using heat tools to style your human hair lace wigs.
Step 8: Final touches
Once the wig is installed and styled, check for any loose areas or gaps along the hairline. If needed, apply additional adhesive or adjust the wig's positioning for a secure and natural fit.
Remember to follow the specific instructions provided by the manufacturer of the wig and any adhesives or tapes you choose to use. Practice and patience are key to achieving the best results.
Additional Notes
- The steps for putting on each style of wig are quite similar, but there are a few subtle differences to be aware of. This is especially true of lace-front wigs since the lace is extremely fragile and needs to be handled with extreme gentleness. Especially the most thin and transparent HD lace.
- Due to their very delicate hairlines, which enable styles to be worn away from the face and produce a more natural look, lace-front wigs are a popular option.
- Your wig will arrive with a sizable amount of lace at the hairline if it is uncut. To make the wig seem natural, you only need to trim the extra lace in the front, being careful not to damage any of the fibers.
Final Thoughts
As I come to the end of this blog post on wig wearing, I want to emphasize that there should be no shame in wearing a wig. Whether it's due to hair loss, thinning hair, or simply wanting to switch up your look, wigs can be a great solution.
Many people choose to wear wigs as a form of self-expression, and that should be celebrated. It's important to remember that wearing a wig doesn't define you as a person, nor does it make you any less beautiful or confident. Ultimately, the decision to wear a wig should be entirely up to you and should be something that makes you feel comfortable and happy in your own skin.


Leave a comment