

How to do Box Braids?
Braid hairstyles have always been a trend, no matter the period. Previously, they were considered a staple for wealth, status, and societal pride. However, now, almost everyone out there has embraced them as elegant hairstyles.
Though many braids are common, from fishtail braids and simple braids to more complex bora bora braids, fulani braids, box braids have their place. They stand out because of their versatility, long wear, and impressive overall look.
Especially black women tend to adorn them as a protective hairstyle. If you also want to try this hairstyle, we have got you covered! In this guide, we will focus on what these braids are and how you can create them at home.
Now, let's get started!
What are Box Braids?

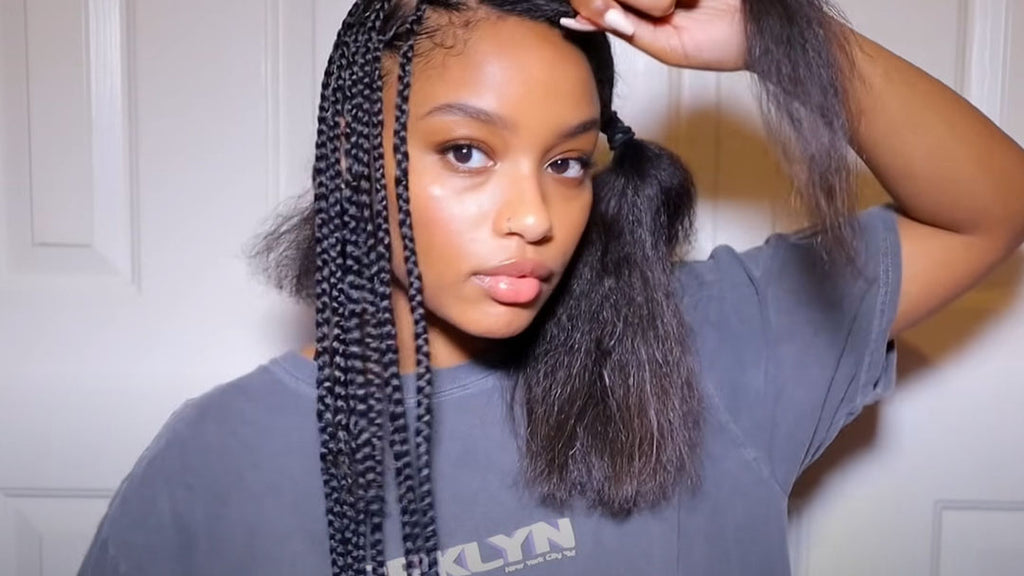
Box braids are categorized by their unique appearance, crafted by sectioning hair into small, square-shaped parts, which are then braided down throughout the hair length. They are typically known for their protective nature, long-lasting wear, and versatility.
You can even create these braids with synthetic or human hair extensions to increase overall volume or add some more length to your braids. Either stick with the extensions in the same color as your natural hair or bring a playful touch by adding vibrant colors, like red and purple. This can be ideal for festive hairstyling.
What Will You Need to Create Box Braids?
Before jumping straight into how you can create box braids, let's explore what you must have in hand before that.
Shampoo and Conditioner:
The first step to preparing your hair for braiding demands thorough shampooing and application of ample conditioner. These will ensure your hair remains detangled during the braiding process.
Hair Holding Products:
When braiding, you will need a styling gel to hold the braids in place and give an extreme hold to the extensions. You can also rely on a lightweight hair mousse to tame those flyaways and loose pieces.
Smooth Styling Products:
Though hair holding products do well in taming flyaways and offering that much-needed hold. You will also need frizz-killing products to minimize frizz before and after braiding the hair. These will also add shine to your braids.
Hair Tools:
Well, hair tools are also required, like a rat tail comb, which will make sectioning much easier, and a wide-tooth comb to detangle hair along the way. Rubber bands are also required to secure braids at the ends.
Extensions:
As mentioned earlier, you can add extensions for length and volume. As it's a protective hairstyle and the extensions will tend to stay in for a longer span, ensure to purchase from a renowned and reliable brand.
How to Do Box Braids: A Step-by-Step Guide
Let's now move on to the detailed step-by-step guide on creating box braids!
Step 1: Prep Your Hair

Wash your hair:
- Wash your hair with a clarifying shampoo thoroughly to remove any dirt or debris and product buildup.
- Follow up with a deep conditioner to strengthen your hair and ensure proper moisturization. This will make it easier to braid. If you have frizzy hair, you prefer using a leave-in conditioner.
Detangle and blow-dry your hair:
- Once done, detangle your hair using a wide-tooth comb.
- Then, grab a heat protectant spray and apply it generously while brushing down the lengths of your hair.
- Meanwhile, follow closely with a blow dryer at medium-low heat. This will make sectioning hair much easier, especially if you have natural curls or locks.
Part your hair:
- The next step is to section your hair. Grab a rat-tail comb and create four sections of your hair, simply parting from the front, back to the neck, and from one ear to another.
- Now, use three large hair clips to keep three sections out of the way. Grab your rat-tail comb and use its pointed end to section out 1.3 cm square sections in the opened larger section. You can also make 5.1 cm sections if you are creating jumbo-sized box braids.
Step 2: Braid in Hair Extensions
If you want to add extensions, which is mostly preferred, purchase six to eight packs of synthetic or human hair. For thinner braids, you will need fewer packs, but it’s always better to buy more than a few. You can use the leftovers in some other hairstyles.
a. Apply Smooth Hair Products
Take the gam or gel, apply it to the roots of the section that you plan to braid to make it super smooth. Then brush the section.
Then, separate your hair into three sections, and try to make them as even as possible.
Pro Tips: If you want to get knotless braids, braid some length of your natural hair and then add hair extensions. But if you want to make regular braids, add the hair extensions at the beginning.
Related read: Knot Braids vs Knotless Braids, What's The Difference
b. Prep The Braiding Hair Extensions
1. Section the braiding hair extensions
Now, take a section from your synthetic braiding hair that is a bit thicker than your natural hair sections. Now, make two small sections, so that you have one thick synthetic hair section with 2/3rd thickness and another thinner one with 1/3rd.

2. Fold to get three strands
Now, grab two sections of hair and cross them at the ends. Follow up by folding the thin strand back on itself. Now, you will have three strands of hair in total, with almost equal thickness.

3. Hold all sections and get ready to braid
Keep holding the extension by the base of the loop with your thumb and forefinger, keeping it secured. Now, choose one of the three synthetic hair strands as your central strand to be combined with your natural hair. Once chosen, align your loop over the roots of your natural hair section and pinch your central strand with natural hair.
c. Braiding in hair extensions
Here comes the interesting part. Begin braiding the synthetic hair.
- You can do that by pulling the right hand strand under the central strand, so you get the right hand strand at the center. Now, pull the left hand strand under the center strand, bringing it at the center. Continue doing the same thing throughout the length of your hair and secure with rubber bands at the ends.
- Once done with one section, move on to the next until you are done with braiding them all. Prefer doing the bottom sections first for proper handling, as it will take several hours to do your entire head. You can even take breaks after each section.
d. Perfect your braids
- Last but not least. Once you are done with braiding all the hair, snip synthetic stray hairs as close to your braids as you can to make the braids appear neater.
- Then, dip your braids from mid-lengths to the ends in a bowl full of boiling water for a few seconds. This will remove any leftover flyaways and reduce frizziness.
Tips to Keep in Mind While Braiding Your Hair
- Apply a scalp moisturizer before braiding to ensure enough moisturization.
- Ensure that your hair is sectioned properly, as perfectly sectioned hair forms the basis for stunning box braids.
- Don't braid your hair too tightly, as it will cause traction alopecia or damage your hair in other ways.
- Cover your braids with a silk scarf when sleeping to reduce friction and frizziness and keep your braids extra tidy.
- For a playful touch, you can add golden clip-in embellishments, adding that much-needed oomph to your hairstyle.
- You can apply maintaining products, leave-in conditioners, but ensure not to cause product buildup.
How to Remove Box Braids?

If you ever feel like removing your box braids or just want to give your hair a break from protective hairstyling, you can rely on these steps.
- Spray warm water onto your hair and apply a detangling product to add slip to it. Prefer going braid to braid or in sections to keep the sections wet while working through them.
- Now, grab a braid from the bottom and move upwards gently. You can cut the bottoms if you had added extensions while braiding. However, be careful not to cut off too much, as your hair grows while braided.
- The next step is to apply a generous amount of detangler on your finger and gently spread it onto your braids. Meanwhile, keep detangling with a fine-tooth comb or your finger, whichever suits you best. Once you have reached the roots, remove extensions.
- Wash your hair properly afterwards, apply conditioner, or preferably do some exclusive hair treatment for deep conditioning. Ensure that your hair is given enough time to recover before going for another protective hairstyle.
Wrapping It Up!
Box braids are bound to stand out owing to their beautiful geometric appearance and protective hairstyling perks. You can do these braids at home, but it will take several hours, and you might even need to take breaks in between.
However, trust the process as the results will surely be worth the effort. The how-to guide mentioned in this article will surely help you in this regard. Note that box braids are a protective hairstyle, but don't keep them longer than a few weeks, as it will cause damage to your hair or scalp.
Once your braids begin to come undone and frizziness increases, it is preferable to remove them using the guide mentioned in this article. Also, give breaks in between protective hairstyle and treat your natural hair and scalp well during that span for preventing damage or other issues. Hope you find this guide worth reading; stay tuned for more informative and interesting articles!
Leave a comment