A Step By Step Guide To Cutting Layers In A Wig

Wigs have emerged as a fashionable accessory that serves many purposes. Going beyond the purpose of convenience, some wear wigs to enhance their style and even to complete a costume. While this look can often appear natural and flattering, achieving it requires customization. Cutting layers in a wig to do this can be very tricky.
For instance, many beginners may struggle with the skill, often ending with a wig that is uneven or seemingly damaged. To help prevent this, our team of professional wig wearers has assembled this instruction guide for the perfect cut. From beginners to experienced wig wearers, this guide offers tips that ensure layers and cuts look flawless. Consider this your ultimate guide to guarantee that cutting layers in a wig is successful.
What Exactly is Meant by Cutting Layers in a Wig?
Cutting layers in a wig is a popular way to craft stylized and natural-looking hairstyles. This process involves trimming the hair strands within the wig at varying lengths, angles, and depths to build depth and texture.

Wigs made from synthetic and human hair can accept layered cuts, though human hair wigs have superior flexibility for better results. For best results, layer cutting on a human hair wig can make incredible styles with different effects when finished with components like heat styling. This is because human hair wigs' quality and texture are closer to natural hair; hence, they can be styled like real hair.
What's Involved in Cutting Layers in a Wig?

Every fashion enthusiast envisions a distinctive style when it comes to adding layers to their wigs. Let's delve into the intricacies involved in achieving beautifully layered wigs:
1. Varying Lengths
When it comes to layering cuts, the intention is to create a distinctive variety of lengths. Trimming different sections of hair to various lengths injects the wig with depth and evokes a natural texture.
2. Texturizing
When wearing a wig, certain areas can become too bulky or heavy to wear comfortably. To address this, some people use texturizing scissors or razors to thin out different areas of the wig. This way, you can achieve a much more lightweight and natural-looking hairstyle.
3. Face Framing
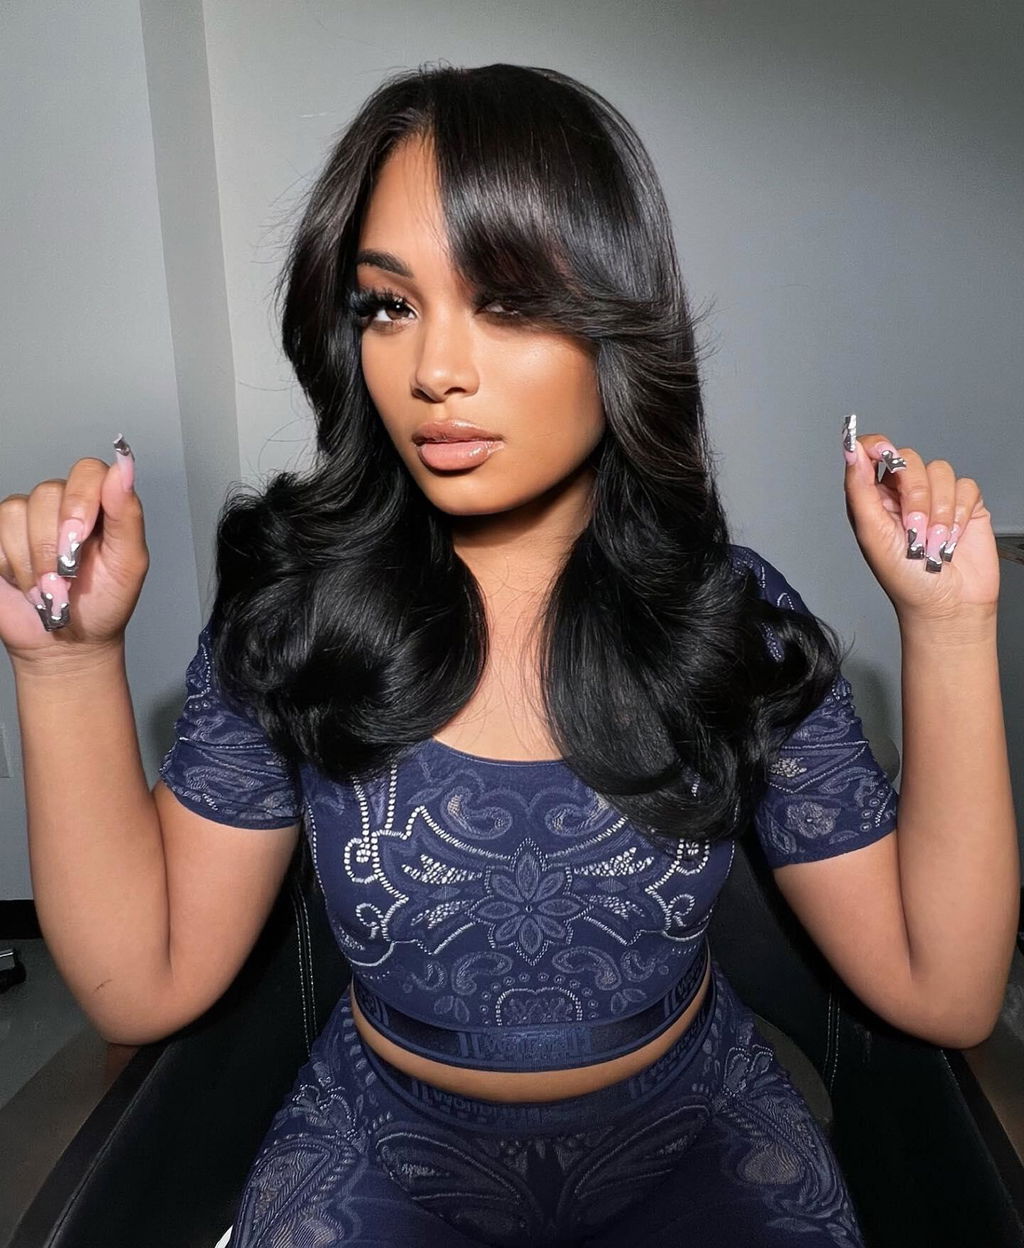
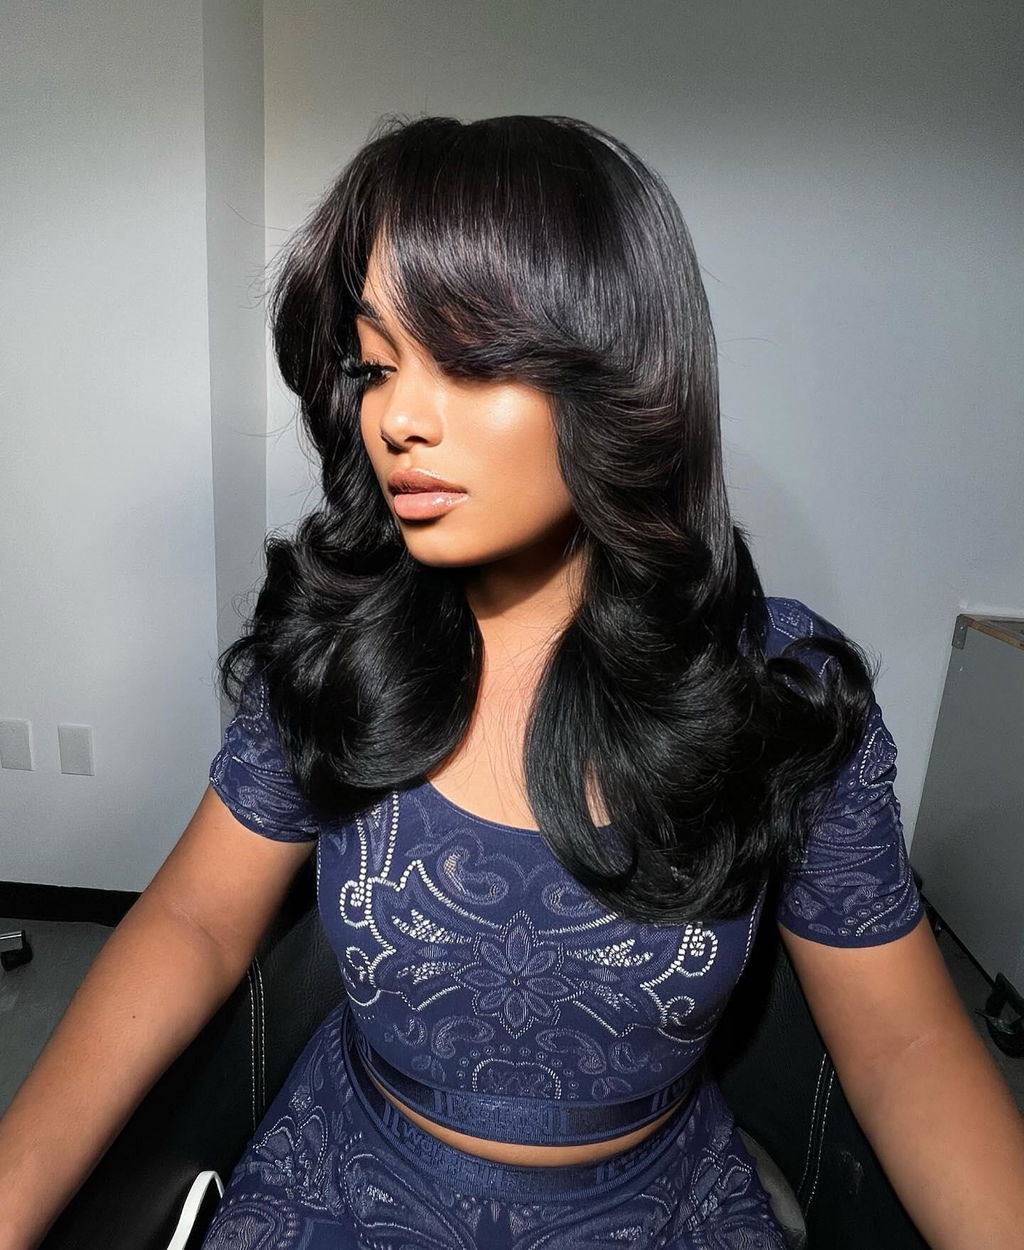
One stylish hairstyle is the face-framing layer cut. These layers can be tailored to each facial structure and hairstyle. Adding short and delicate fringes around the face can bring out features while adding some softness for an attractive touch. Many people go for this hairstyle as it is a great way to accentuate their appearance.
4. Customization
Cutting layers offers options to make the look your own. You can opt for a blunt aesthetic, achieving a sleek and even silhouette. For something more dynamic and effortlessly chic, you can opt for textured layers that evoke a less formal, relaxed ambiance. It all depends on your personal preference.
These differentiations give you the versatility to tweak your style to best express yourself or embody the vibe you are going for. Adding layers changes styles and the face shape to give yourself a completely new look.
5. Volume and Movement
Layering a wig can give the hair more volume and movement. It can make the wig appear more dynamic and three-dimensional than flat and featureless. Having a wig with body and bounce gives hairstyles so much more texture and definition! It adds that extra something special, which is ultimately what makes a hairstyle stand out.
Cutting layers in a wig is a hairstyling technique used to transform the wig's appearance, making it look more like natural hair and allowing for greater styling versatility. It requires careful planning, precision, and the right tools to achieve the desired result.
Tools You'll Need for Cutting Layers In A Wig

To achieve the perfect layered wig, you'll need the following tools:
1. A High-Quality Wig:
Start with a synthetic or human hair wig, depending on your preference and budget.
2. Wig Stand or Mannequin Head (Optional):
This will help you secure the wig during cutting.
3. Sharp Hair Cutting Scissors:
Ensure they are specifically designed for cutting hair.
4. Clips or Hairpins:
These will help you section off the wig hair, keeping it neat and organized.
5. Comb or Wig Brush:
Use this to detangle the wig hair and create even sections.
6. Mirror:
Make sure you have a mirror in front of you so you can see what you're doing clearly.
7. Spray Bottle with Water:
Mist the wig hair lightly to make it easier to work with.
8. Styling Products (Optional):
Depending on your desired finish, you may need styling products like hair gel, mousse, or hairspray.
Choose Your Layering Style That Best Suits Your Face Shape

Layering is a versatile technique that can be customized to suit your unique face shape and features. Here are some tips on how to choose the best layering style for your face shape:
Oval Face:
An oval face shape is considered the most balanced, with equal proportions and a slightly rounded jawline. For this face shape, almost any layering style will work. However, consider soft face-framing layers to add some dimension and soften angular features.
Round Face:
A round face has full cheeks and a circular shape. To make the face appear leaner, opt for graduated layers that start shorter at the back and gradually get longer towards the front. This will create a flattering illusion of length.
Heart-Shaped Face:
A heart-shaped face has a wider forehead and a narrower chin. Blunt layers can work well for this face shape, providing balance by adding fullness to the bottom half of the face.
Square Face:
A square face has a strong jawline and a wide forehead. Textured layers can add movement and create a softer appearance to soften these features.
Diamond Face:
A diamond-shaped face has wider cheekbones with a narrower forehead and chin. For this shape, consider face-framing layers with soft ends to enhance the cheekbones and soften the chin.
No matter your face shape, it's essential to communicate with your hairstylist about what you want and how much maintenance you are willing to do. They can provide expert advice on the best layering style for you and help you achieve your desired look. Remember, layering is a versatile technique that can be customized to suit any face shape, so don't be afraid to experiment and find what works best for you.
Step-by-Step Guide for Layering the Wig
After understanding the different layering styles, necessary tools, and how they can complement various face shapes, it's time to learn how to achieve them. Here is a step-by-step guide for layering hair:
Method 1: Install The Wig and Cut Layers

Let me introduce the first method to cut layers on a wig, place the wig on the head and cut the layers. It's an easy method to master quickly if this is your first time layering a wig. Let's get started!
Step 1: Brush ans straighten the wig

To make sure get the accurate cutting, it's better to detangle and brush your wig before starting anything. You can also use a flat iron to ensure all hair strands are straight.
Step 2: Section the hair

Here we come to an important step, section the hair and confirm layers placement.
- Begin by creating a horizontal parting near the nape of the wig.
- Then pick 1/4 hair from each side and gather in front. Here you can use a rat tail comb or big clips to get accurate parting. Secure it with an elastic band.
- Move the elastic to decide the first layer placement. If you prefer long layers, it should be under your chin one or two inches, but even if you want to get shorter layers, it should not be low to the cheekbone place.
- After that, repeat the same step in other sections and make sure each layer is one or two inches longer than the last layer. Now you get 4 layers secured by 4 elastic bands.
Step 3: Cut layers

Now we come to the most exciting moment - cut the layers. Hold the first layer of hair with your index and middle fingers, your fingers should be under the elastic band, keeping the hair taut but not too tight, and then rotate and cut the hair with sharp hair-cutting scissors.
Step 4: Cut the rest layers

After cutting the first layers, loose the first layer and move to the next section of hair under the first layer and repeat the same operation until all layers are finished.
Step 5: Blend the layers

To create a natural look, make sure to blend the layers together by connecting each new layer with the one below. You can do this by point-cutting, which means making small, subtle cuts at the ends of the layers to blend them.
Method 2: Place The Wig On Wig Stand To Cutting Layers
Step 1: Prepare the wig

- Start by placing your wig securely on a wig stand. This will provide it structure and stability.
- Then, use pins to fix the wig firmly in place. If there's excess hair on the sides in front of your ears, you can safeguard it by clipping it back, keeping it from getting into your way as you work.
- To achieve a more finished look, grasp the front of the wig with two hair clips and lay down the strands methodically from the back of the head.
Although you also work on the front of the wig, it's best to start from the back and finish with the front since that's typically in the most need of improvement.
Step 2: Layer Positions to Consider
To achieve a hairstyle of your choice, it is important to take note of both the top and bottom layers of the wig hair. The foundation layer holds significant importance as it determines the length of the wig.

To obtain the customized look you desire, it is recommended to layer the top piece one to two inches (2.5 to 5.1 cm) above the chin and an additional one to two inches (2.5 to 5.1 cm) above the center layer.
For a creative hairstyle, you can also make the central and top layers as short as possible and divide them into multiple levels. Ultimately, the number of layers you decide on determines exactly what the final style will be.
Step 3: Organize the layers

The next step for working on the center of the hair is to pin the top portion off.
- Make sure that the clip is near the front of the wig for neat and organized work.
- Once the hair is secured, the rest of the wig should have your intended design. By strategically pinning areas of the wig, it helps to get an even result.
- Furthermore, using a comb can be beneficial when it comes to separating smaller and more intricate areas to create a layered look.
Step 4: Layering the wig hair
It's finally time to start layering your hairpiece! However, before anything else, make sure each section has an equal amount of hair to ensure simplicity.

- You'll need to use your middle and index fingers to grip the area that needs to be cut at a 45-degree angle while gently and carefully cutting smaller parts. Be sure to check for any tangles that may form, brushing or combing if necessary.
- Going forward, the most important part of this technique is to keep in mind to use an angle cut and never cut straight across.
- The final result should look natural instead of completely blunt. This makes it look as if each layer is subtly peeking through the entire style of your wig.
Step 5: Brushing and Styling
When standing in front of the wig, remove the clips and gently brush out the hair on either side ether side of the wig. These layers will illustrate how your face will be framed. Generally, the front areas of layered hair tend to be shorter than the rear sections.
To add life and volume to your new hairstyle, try using a round brush to dry the ends of the wig. Use a flat brush to smooth it into place for a sleeker look. Alternatively, some texture can be added by spritzing a texturizing spray or applying some hair wax to the wig layers.
Step 6: Hair Frame Maintenance
Start by cutting the frame of your face at an angle with your dominant hand. Hold your elbow up in the air to help guide the scissors' motion and ensure the cut's accuracy.
Even the shortest hair string should be cut at ear length or greater, ensuring that all portions are long enough to style. Keeping up with regular trims ensures your look remains polished and put together.
Step 7: Last Layering Touches
Once everything is set, take a final look at the hairstyle you created. Focus primarily on the front wig and pay attention to the top and center, which should be layered.
- Using the shearing techniques you described during the back segment, ensure to cut the center and top pieces of the wig at a downward angle, avoiding a sharply straight trim.
- When working on the thinning of the center division, carefully separate off the top section and provide coverage covering the hair by layering the top row one extra time.
- To cap off the look, lightly trim the front line of the layers, this time making sure to transition the angled pieces in all of the complementary directions.
- After you establish the angled pieces of cut, your wig is finished! With its layers precisely cut and blended, your wig is ready to be styled and showcased.
Best Layered Cut Wigs to Try Now
After mastering the art of layering, it's time to try out some beautiful wigs that are already layered for you. Here are our top picks for the best layered cut wigs:
1. #4 Chocolate Brown Layered Cut Human Hair Wig

Simplicity is often best, and this #4 Chocolate Brown diamond layered cut wig is sure to strike the right note with you.
- Made entirely of hair sourced from just one donor and featuring a 13x4 HD lace front, this wig offers maximum realistic realism.
- A breathable 180% virgin hair density grants the diet ample volume and body.
- Furthermore, its chic layered cut makes it both practical and stylish, which readies it for any occasion.
- Best of all, it's incredibly straightforward to install and requires next to no regular upkeep hours if desired.
If you are looking for a stunning yet comfortable wig, this one is certainly worth a closer look.
2. 1B/30 Highlight Layered Bob Wig
If you're looking to possess a chameleon's remarkable transformation talents, then the shaggy layered cut bob wig is the answer.

- Its stylish layered cut and bangs allow you to dramatically shift your style without compromising your authenticity.
- Crafted from 100% human hair fiber, this wig looks super natural and can be seamlessly blended with the contours of your face.
- Plus, the glueless bang design makes it easy to properly install, even for inexperienced wig wearers.
3. Layered Cut 613 Blonde Pre-Plucked Glueless Straight Lace Wig

Blonde hair is so much more than a mere statement—it has a classic, timeless quality that never fades with the seasons. The 613 Blonde Pre-Plucked Glueless Straight HD Lace Wig is the perfect choice if you want a beautiful and versatile blonde look.
- This wig is composed of 100% virgin hair for a seamless blend with your natural hair, and you don't need any extra processing time as the pre-plucked and pre-bleached design makes it ready to wear right out of the box.
- You're in charge of just how versatile your look can be, too—select a 13x4 or 13x6 lace front depending on the part of the hair you most desire, be it a mid-part, a c-part, or a free part.
So, suppose you're looking for a stunning blonde wig that allows for endless styling possibilities and is incredibly easy to wear. In that case, the 613 Blonde Pre-Plucked Glueless Straight HD Lace Wig is worth considering.
In A Nutshell
Congratulations, you now have the know-how to successfully cut layers into a wig from start to finish! By considering this step-by-step guide and following our instructions closely, you can achieve the perfect cut for your wig every time. From matching the desired look of the wig to your face shape, selecting the tools that are best suited for layering, and understanding each step in the process – there's no doubt that you can pull off a beautiful layered hairstyle in no time.
We hope this guide helped provide information that will give you the confidence and affirmation you need to create something extraordinary with your wig. If you'd like to learn more about cutting layers within a wig or other ways of styling a hairpiece, check out other tutorials on our website. Happy styling!


Leave a comment