How to Create Hollywood Waves?

Hollywood waves are one of those styles that exude glamour and remain relevant. Smooth, sculpted, and undeniably classy, this look has dominated red carpets for decades and has been worn by some of the biggest stars in history.

Every wave flows in the same direction, every curve gets a glossy finish, and you just can’t go wrong with this hairstyle. But behind all the elegance is a process that requires repeated heating, extensive brushing, and careful pinning to get that flawless Hollywood waves shape.
Doing this look on natural hair can compromise hair health, so we will also provide a healthier alternative to achieve Hollywood Waves without risking your precious locks.
What Makes Hollywood Waves Different From Other Waves?

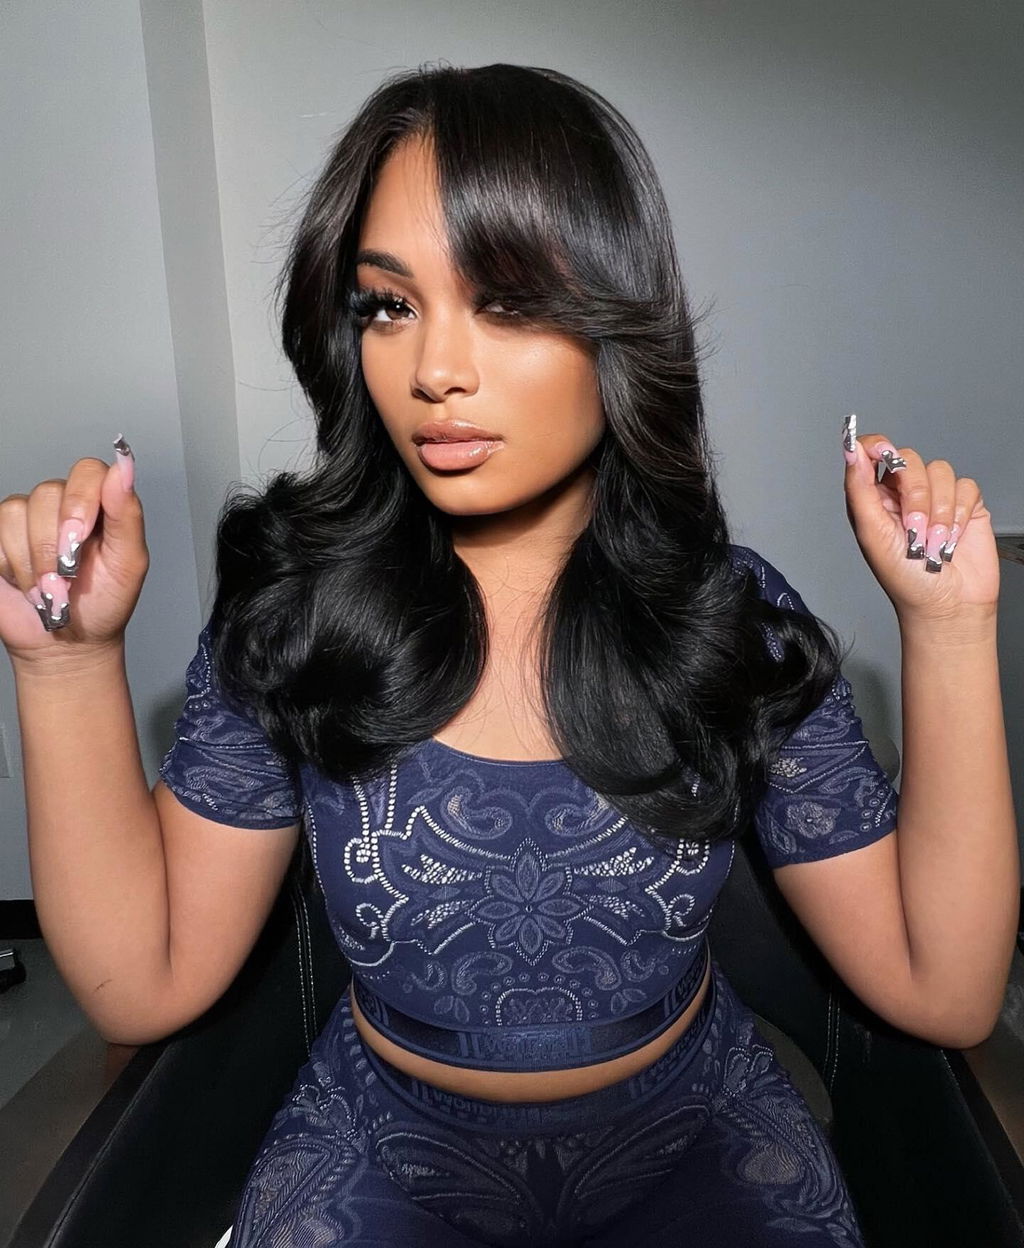
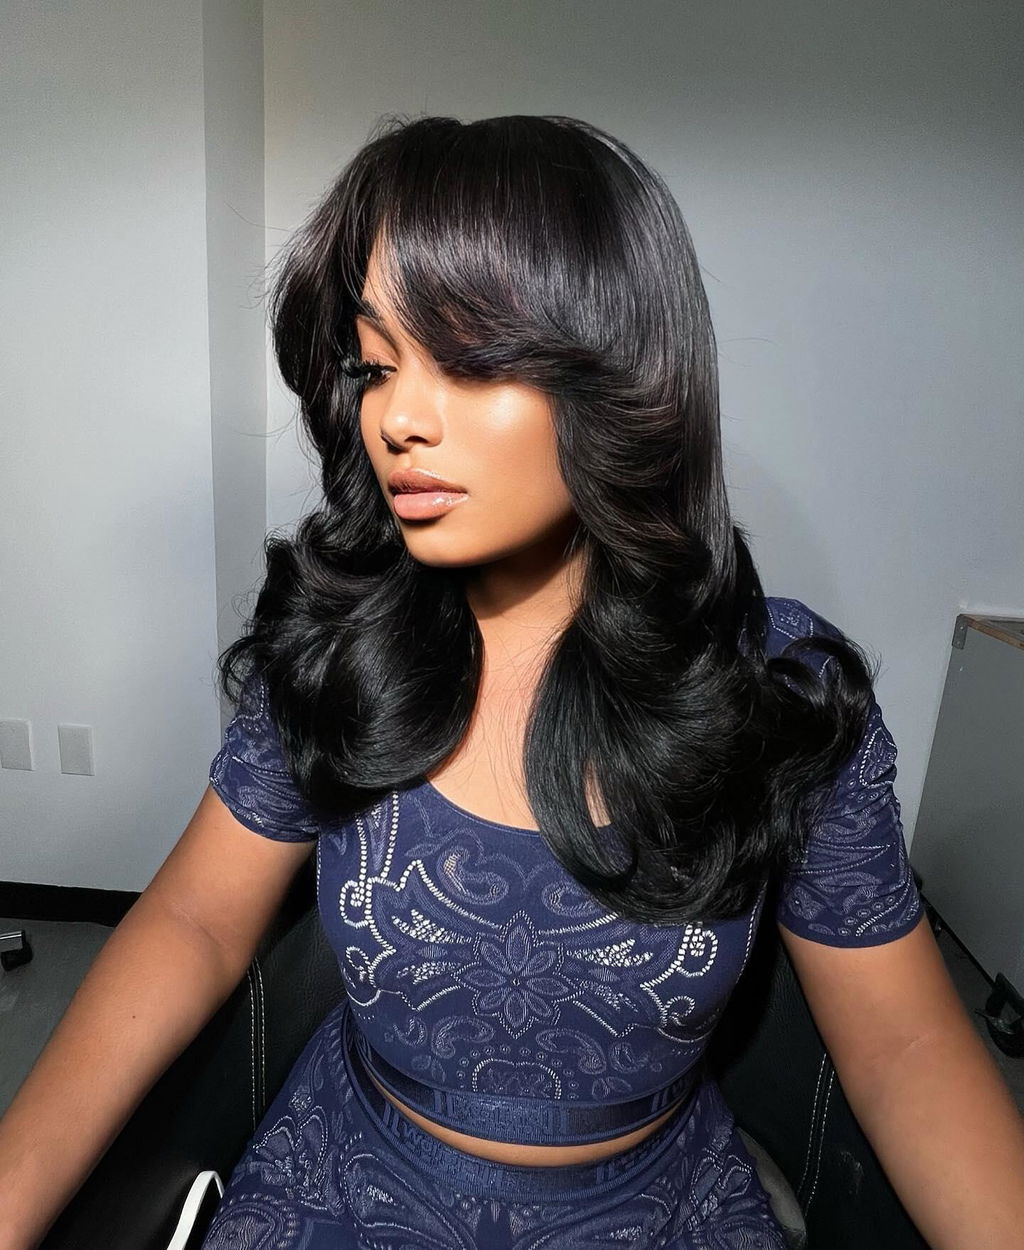
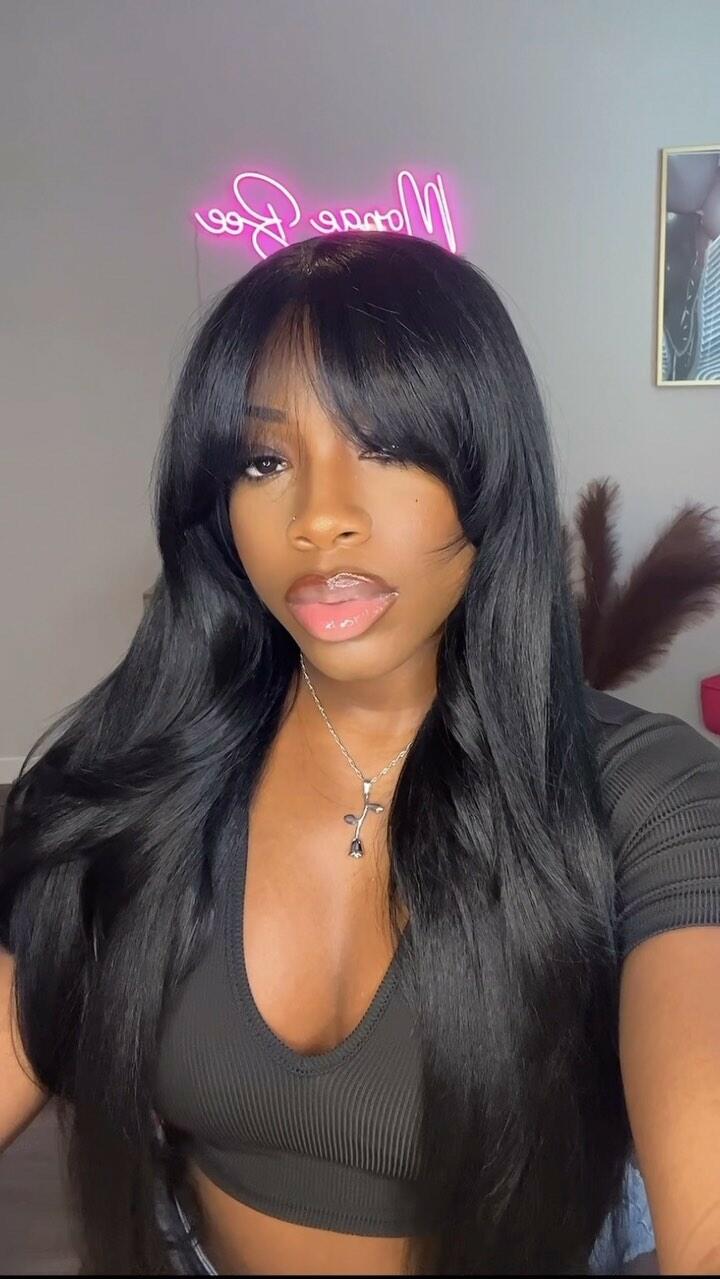
Unlike beach waves or loose curls, Hollywood waves are designed to look controlled and uniform; in short, these waves have intent behind them. The waves have a continuous “S” pattern that extends throughout the hair length.
Hairstylists describe Hollywood waves as having consistent size and being styled in one direction only, which adds a level of complexity that other waves don’t have. You have to brush and sculpt Hollywood waves into place, and the goal is to finish with shine rather than texture, like in most other types of waves.
This precision is what gives this style its signature drama, and it is also why it is so sought after by queens who want the red-carpet look.
What You Need Before You Start Creating Hollywood Waves?
When you are creating a special hairstyle, you need to be prepared. So the process of creating Hollywood waves starts long before the curling iron touches the hair.
Here is everything you will need when creating Hollywood waves:
1. A heat protective serum or finishing product

2. Curling iron or hot rollers

3. Sectioning clips for cooling and setting

4. A dressing brush
5. A rat tail comb for shaping and definition

Creating Hollywood Waves Step by Step
Creating Hollywood waves is a multi-step process where each step builds on the one before it. Now we get how exciting it is to try out a fancy hairstyle, but rushing the process can lead to uneven waves, so take your time when creating Hollywood waves. It will be worth it!
Step 1: Hollywood waves start with a thorough hair prep. Apply a heat protective serum from mid-lengths to ends, and then blow-dry the hair until it is smooth and frizz-free. First step sets the base for shine and structure.
Step 2: Decide where you want to part your hair most common part that suits Hollywood waves is the deep side part.
Once you decide the part, you will have to keep it throughout the entire process. Then section your hair evenly, starting at the nape and work your way upward. All sections should be the same size to make sure waves form evenly.
Step 3: Curling begins in step three, and this is where you will notice how different Hollywood waves are from casual curls. Every section must curl in the same direction, which is usually away from the face.
Place the curling iron vertically with the tip pointing down and wrap the hair around it. The larger the curling iron’s barrel, the looser the waves you will get, and smaller barrels create tighter defined waves.
Step 4: Once you are done curling with the curling iron, gently wrap the curl into its original shape and secure it with a clip. Now let the curls cool completely while they are clipped in place because the cooling process locks the shape in place and strengthens the curls.
Step 5: Once the sections feel cool to touch, remove the clips and use a dressing brush to brush through curls in large sections. The goal is to merge the curls and form a smooth, flowing, wavy look.
Keep brushing until you get the signature Hollywood waves. This step turns individual waves into uniform Hollywood waves, so be patient when brushing your hair.
Bonus: You can enhance the shape of curls by placing a rat comb at the crest of a wave and gently pushing upwards. This sharpens the curve without disturbing the pattern. Less is more here!
Step 6: Finish the look with a light mist of hairspray to maintain structure and shine. Because once you put all that hard work into your look, you will want it to last.
Why Hollywood Waves Can Be Hard on Your Hair?

Hollywood waves require you to expose your hair to high repeated heating and heavy brushing, which is not healthy for your natural hair.
If you want Hollywood waves as your long-term hairstyle, frequent reshaping and manipulation can lead to dryness and may change the texture of your hair permanently. So if you want to preserve your natural hair and still enjoy the magical Hollywood waves, then using a high-quality human Hair wig makes more sense.
Why Styling Hollywood Waves on a Wig Is Safer?

Creating Hollywood waves on a human hair wig gives you the same natural shine and feel of actual hair, but it removes stress from your natural hair. Not to mention, you can take the wig off at any time, making the hard work you put into making the waves last longer.
The best part is that the steps for making Hollywood waves on your natural hair and a human hair wig are the same, since both have similar behaviour and response to styling. Cynosure Hair provides both straight and body wave wigs made from 100% human hair, which can be easily styled to Hollywood waves using the method explained in this article.
All Cynosure Hair wigs can be heat styled, reshaped and worn repeatedly without losing their shine with some basic wig care. It's the only way you can get Hollywood waves without putting your natural hair at risk.
Never used heat styling tools before? Try loose deep wave wigs with the same pattern as Hollywood Waves!
Conclusion
Hollywood waves will always be a symbol of elegance, but that doesn’t mean your natural hair should pay the cost of maintaining them. Choosing a wig for Hollywood waves is choosing your hair health and well-being without sacrificing beauty.
Now that you know how you can create Hollywood waves, all you need to do is find the right human hair wig and you are ready for the red carpet.
Leave a comment