How to Create Finger Waves? Step By Step

Finger waves are more than just a hairstyle - they are a glamorous and attractive throwback in the golden age of Hollywood. Finger waves were worn by many stars on big screens, such as Halle Berry and Sanaa Lathan; this unique and beautiful classic look boosts confidence, elegance, and hand artistry.
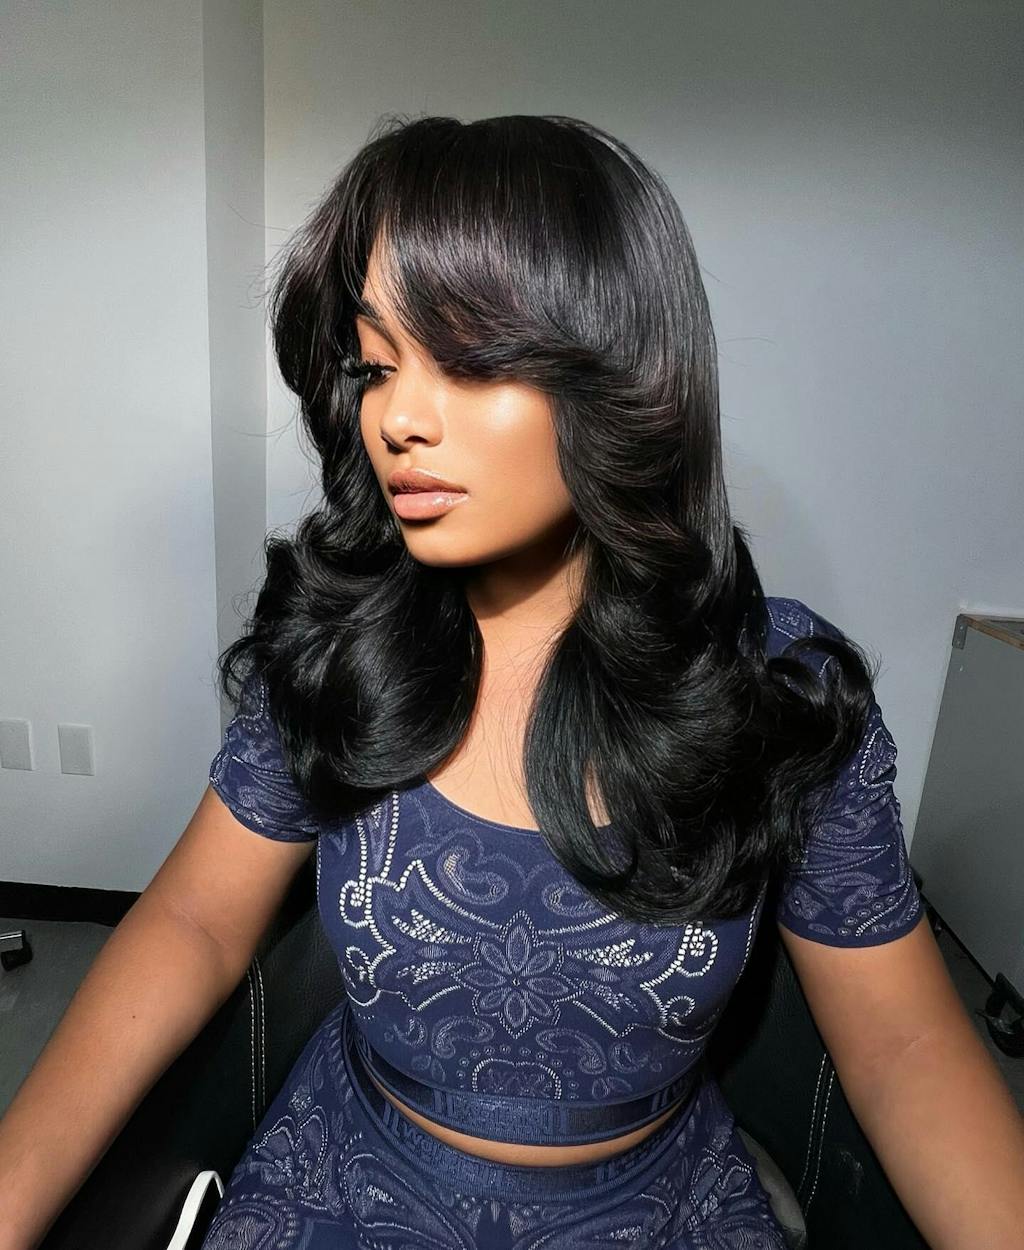
Finger wave hairstyles are making a bold comeback in 2025, blending vintage elegance with modern flair. This iconic style, characterized by its sleek, sculpted waves, is versatile and suits various hair types and lengths.
The best part of this hairstyle is that learning is easier than it looks. With the right tools, techniques, and a little bit of practice, you can easily regenerate this timeless style anywhere.
Whether you are preparing yourself for a special occasion or simply want to elevate your daily office look, this step-by-step tutorial will help you achieve these calm and flawless finger waves, which stay perfectly in one place the whole day.
Why Finger Waves Remain the Ultimate Hairstyle Choice

Finger waves have endured because they are a popular hairstyle for ladies of all ages. This satiny and sculpted look is the perfect choice because it combines fineness with ease. Let's look at many reasons why this classic look never goes out of style:
1. Versatility
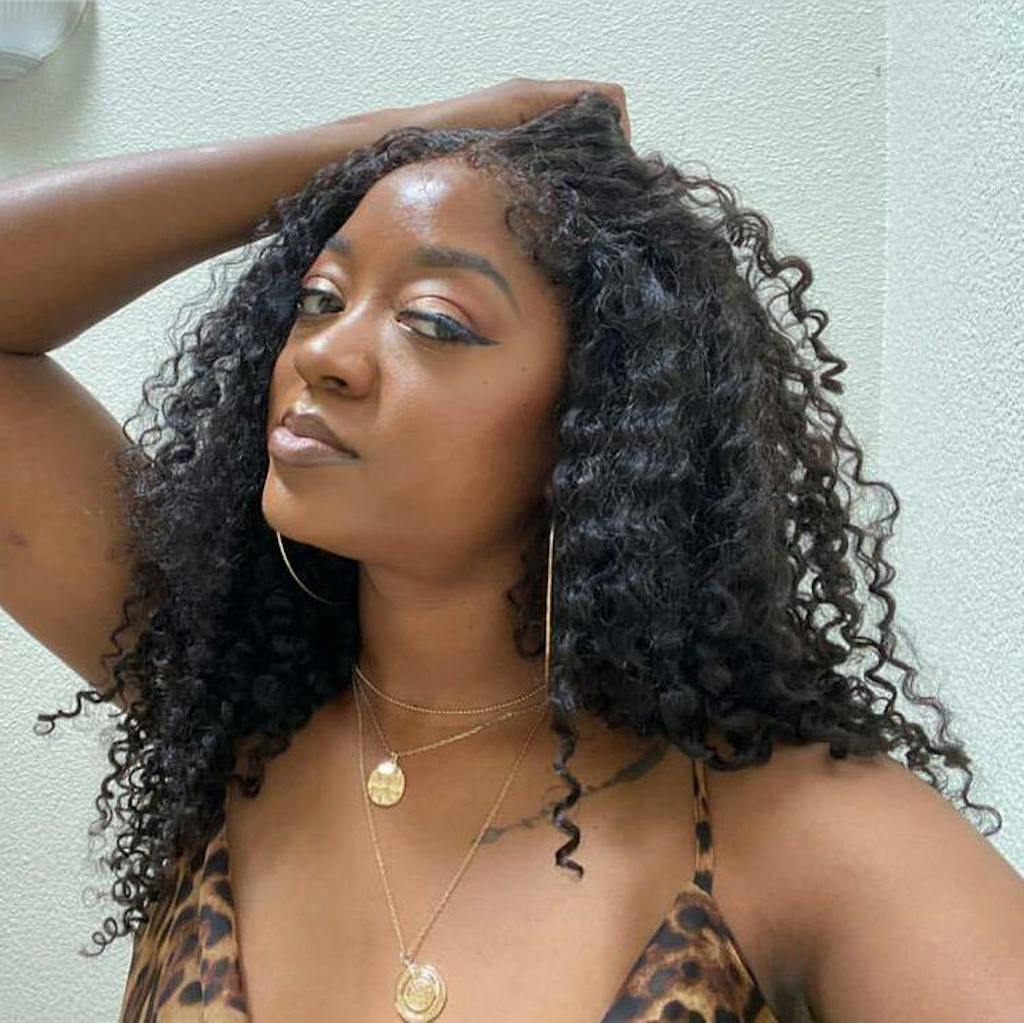
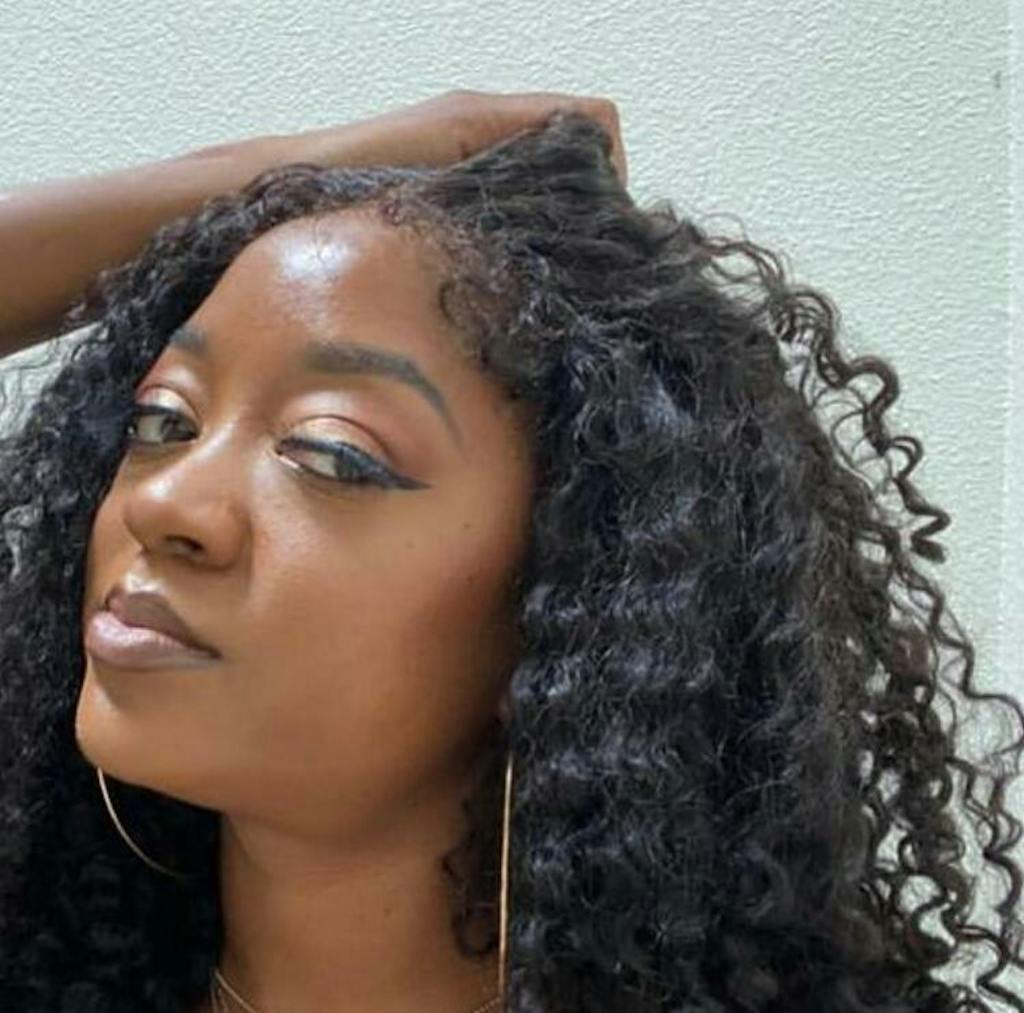
Finger waves offer a variety of styling options that complement different hair lengths and textures. Whether your hair is short or long, straight or curly, even working with a wig, this look adapts beautifully and generates your new look.
2. Low maintenance
Once you have mastered the strategy of creating finger waves, then maintaining this look becomes super easy. This timeless look always holds its shape beautifully and requires only a few touches to maintain it throughout the day.
3. Easy to accessorize

Finger waves gracefully hold a range of hair accessories, including clips, headbands, and combs. These accessories can easily elevate your haircut and add a touch of elegance to make it perfect for your occasions.
4. Long-lasting hold
Finger waves are always expertly composed with gel or mousse, which offers a polished and sleek look and holds your hairstyle all day long. That timeless style is perfect for anyone who is searching for a chic and advanced look.
Products You'll Need for Achieving Finger Waves
Achieving these beautiful waves always starts with using the right products and tools that you typically keep in your makeup bag. The key to making this hairstyle perfect is layering your products strategically to make sure your waves stay sharp, long-lasting, and glossy. Here is a list of essential tools and products that you'll need to master the finger waves:
1. Styling Comb

A styling comb is essential to achieve clean and well-defined waves. Choose one with fine tooth comb to precisely section your hair and induce angles with ease.
2. Duckbill Clips(optional)

These versatile clips are the main tools to keep your waves secure all day. Designed with a sleek and user-friendly structure, they allow effortless and cool precision, which ensures your every wave stays in place. If you are dealing with super short hair, you may don't need them.
3. Styling Gel or Hair Mosse

The key to achieving the perfect finger waves depends on your gel choice. Always choose a product with a strong hold which ensures your hair stays strong and long-lasting.
4. Hairspray (Optional)
A gentle mist of hairspray is always the perfect finishing touch to lock your waves, which ensures that they stay flawless all day and night and make you more beautiful. Choose a flexible hold formula to keep your style soft and polished.
5. Blow Dryer with Diffuser (Optional)
While air drying is always an option, with a blow dryer, your speed becomes two times faster without disturbing your waves. It provides even distribution locking shine and definition in your finger waves.
How to Master the Finger Waves Like a Pro?

Finger waves always generate elegance and smoothness in your look and make you feel special in any place. It perfectly fits all types of hair and attracts everyone's attention. Finger waves are typically styled on short pixie hair; it doesn't mean you can't style it on medium-length and long hair. Like we said before, finger waves are versatile.
The following tutorial is create finger waves on short hair, let's get started!
Step 1: Prepare Your Hair
First, start with clean and damp hairs as they generate the perfect base for flawless finger waves. If your hair is dry, then lightly mist them with a spray bottle. Proper moisture is the main key, which gives you better control and flexibility and makes it easier to shape wave patterns. Experts also emphasize doing that step for a smooth and defined look.
Step 2: Apply Styling Product and Part Your Hair

After preparing, choose a styling product that suits your hair best and generates your desired look. For fine or straight hairs, use a lightweight mousse, and for thin or curly hairs, strong gel always works the best. These styling products create a solid base for your finger waves and help them maintain their shape throughout the day.
Then, part your hair as you like, it can be a side part or off center part.
Step 3: Section Your Hair
To generate stunning finger waves, first start by dividing your hair into multiple sections. Begin with a horizontal part from ear-to-ear to the back of your head and separate hairs into top and bottom.
Within each of these, create vertical subsections of one inch wide. Now, depending on your desired wave size, aim for four to six vertical sections. Many sections will always produce smaller and unique detailed finger waves, and on the other side, softer waves are produced by fewer sections.
Step 4: Use your comb to create "C"waves
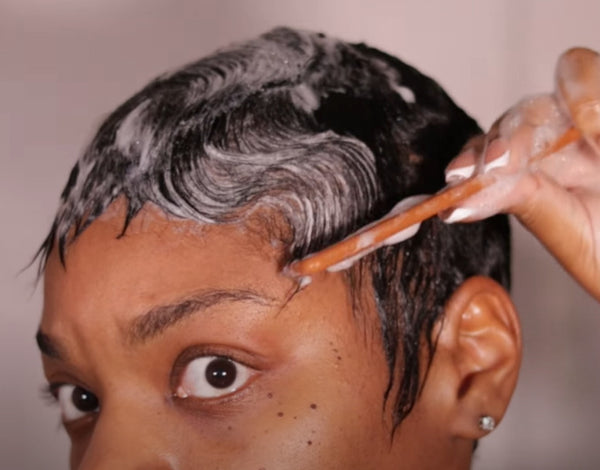
To create the iconic vintage C-shaped waves, a fine tooth comb plays an important role.
- First, begin with the root of subsections, which comb your hair against the scalp while generating a gentle curve with fingers.
- Use your comb to push the hair up a little to make the first crest swell. Also, hold them in place with your fingers.
- Continue this process by alternating the direction of each wave for a seamless flowing pattern. For a timeless and polished look, ridges must be designed to be smooth and well-defined.
Step 5: Secure them with Duckbill Clips(optional)

To preserve the shape of your beautiful finger wave, it is very important to secure it with a duckbill clip, ensuring a firm hold without leaving many creases.
Professionals also highlight this clip for precise and best results. Align the flat side against your scalp and its angle diagonally for the best appearance. This simple and easy trick always protects your style and gives you a unique and polished finish.
Step 6: Repeat with each section
Repeat this process for each section of your hair for consistent, bold, and flawless waves.
First, launch with the perpendicular sections of the top layers while generating smooth crests and secure them with the duckbill clips. Once you have done the lower area, then do the same steps for the upper head. Applying a bit of pressure will help create a smooth, consistent finish. Such a style is always great for the texture and longevity of the alluring style, which styles can now be experienced for a long period of time.
Step 7: Finish Your Finger Waves

Once your hair is dry(blow dry or air dry), gently remove the duckbill clips to reveal sculpted waves. Use your fingers to gently separate and define each wave beautifully. Now, your waves generate a beautifully natural look, and you can also increase this by using hairspray, being careful not to overdo it. This final touch with your finger waves always ensures a refined and long-lasting finish with timeless sophistication.
Tips for Longevity: How to Make Your Finger Waves Last All Day

Maintaining flawless finger waves throughout the day also requires premium care and attention to hold their shape. With proper preparation and good planning, you can preserve the look of beauty and elegance in your style from morning to evening.
Here are five essential tips that will help you extend the life of your finger waves even further and enjoy their beauty for longer.
1. Sleep Smart: To maintain your finger waves during the night, it is essential to wrap your hair with a silk scarf or sleep on a silk pillowcase. The smooth texture always reduces friction, keeping your hair soft and intact throughout.
2. Avoid Humidity: Always avoid excessively humid environments, as the high moisture levels can disrupt your hair texture, causing it to lose its shape.
3. Touch-Up: Any time when your waves lose some shape, gently reshape them by using a comb or your fingers to retain the shape again.
4. Limit Product Overload: It is better for you not to use styling products or hairspray excessively, as excessive buildups can flatten and cause your waves to fall.
5. Hands Off: Avoid the random temptation to touch or run your finger through your waves, as this can lead to frizz or flattering in your waves and make you look unprofessional.
By following these tips, you can keep your finger waves looking gorgeous, elegant, beautiful and picture-perfect all day long.
In a nutshell
Finger waves are a classic and timeless hairstyle that beautifully adds sophistication and glamour to any look. With the right tools and technique, you can even get this elegant style at home. Remember to properly prepare your hair and use the correct tools to maintain your finger waves the whole day for long-lasting results. So go ahead and rock those gorgeous finger waves with confidence!


Leave a comment